Laser and engraving
The same design can behave differently on a new sheet, finish, thickness or material batch. An engraving that looked good yesterday may become too faint, too dark or lose fine detail on another piece of plywood. Rather than discover that on a finished blank, use a small test grid on an offcut of the real material.
A test grid is a set of small samples that vary controlled settings. Its purpose is not to find magic universal settings or replace the requirements of your equipment. It helps you see a pattern for your own material, machine, focus, artwork and visual goal. A useful grid makes the choice less random before you commit to a full job.
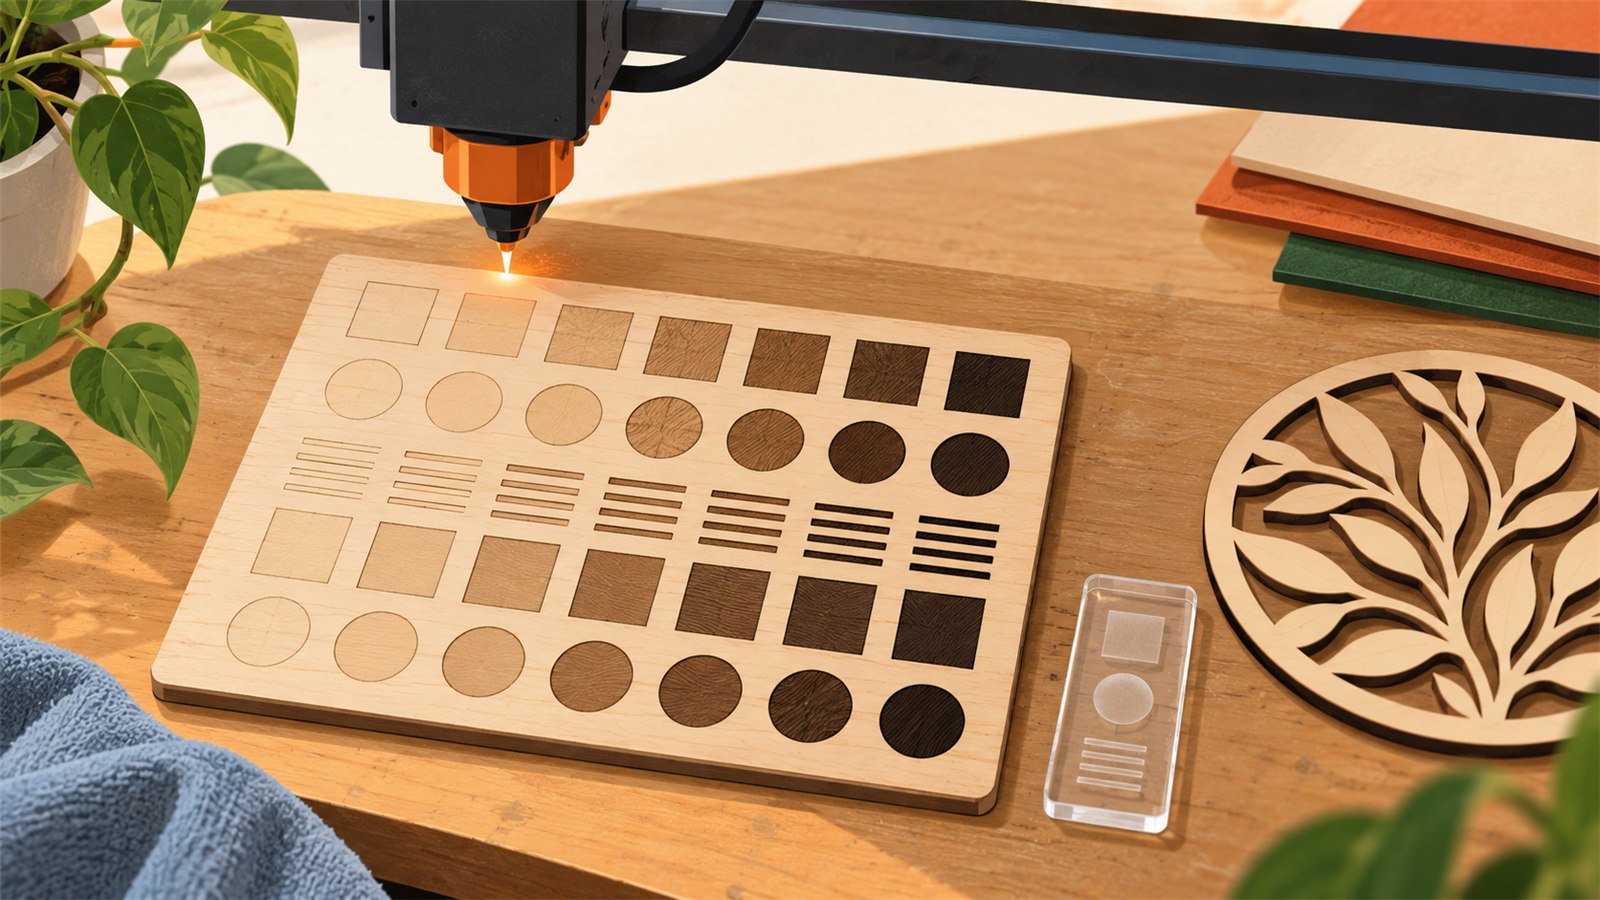
A compact grid on a material offcut helps compare options before a whole sheet or customer order is used.
When a test grid is most useful
Make a new test when the material, thickness, finish, colour, supplier, important artwork type or working process changes. Even a similar-looking sheet can respond differently. A quick test can also be useful after a machine-maintenance change when that could affect the result.
You do not need a large grid for every simple repeat job. If you are using a familiar material and a proven design, a small control sample may be enough. Before an expensive blank, a production batch, fine text, a photographic engraving or a complex joint, however, a short test is usually worthwhile.
What a grid should compare
Choose one factor for rows and one factor for columns. This keeps the result readable because you can see how each neighbouring cell differs. Depending on your software and task, those may be processing parameters, pass counts or another deliberate variable. Do not change everything in every cell; otherwise you cannot tell why a result changed.
Label the axes and samples in a way you can understand later. After processing, you need to connect the best-looking cell with its settings. If you do not want marks on the material, photograph the grid beside a written map or save a simple placement diagram.
A grid does not have to use only plain squares. Include a small version of what matters in the real project: a fine line, a short piece of text, a dense fill, a photographic gradient, an internal hole or a narrow gap. A simple block can look perfect while failing to reveal the problem in the final artwork.
Prepare an honest test
Use the same material where possible
The best sample is an offcut from the same sheet or batch as the main job. A different material can behave differently enough to make the comparison misleading. When that is not possible, use the closest available substitute and record the difference.
Consider the visible side, protective film, grain or pattern direction and surface condition. If the final project will be processed on a clean front face, a test on the reverse side with film attached may give the wrong expectation.
Keep other conditions steady
For a useful comparison, avoid changing position, focus, image preparation and material at the same time as your test variables. If something else changes between attempts, record it separately. A test grid is not a laboratory experiment, but a little order prevents conclusions based on coincidence.
Keep the test compact
A test should not consume the whole material. Start with a small grid whose cells are large enough to judge but small enough to compare quickly. If none of the cells is useful, extend the range deliberately in a new test rather than making one huge chart with no clear purpose.
How to read the result
Do not automatically choose the darkest cell. Look at the qualities that matter for the final piece: contrast, edge cleanliness, text readability, fine bridge strength, depth of the mark, reverse-side effects and appearance from normal viewing distance.
Review the grid under lighting similar to the final setting. Photographing it can be useful for notes, but do not rely on a photograph alone: cameras can change contrast and colour. Make the final decision from the real material in your hand.
If two options look very close, choose the one that seems more stable for the job rather than the most extreme one. A small margin can be more useful than a setting that looks dramatic only in one small patch. The right choice depends on your process and product.
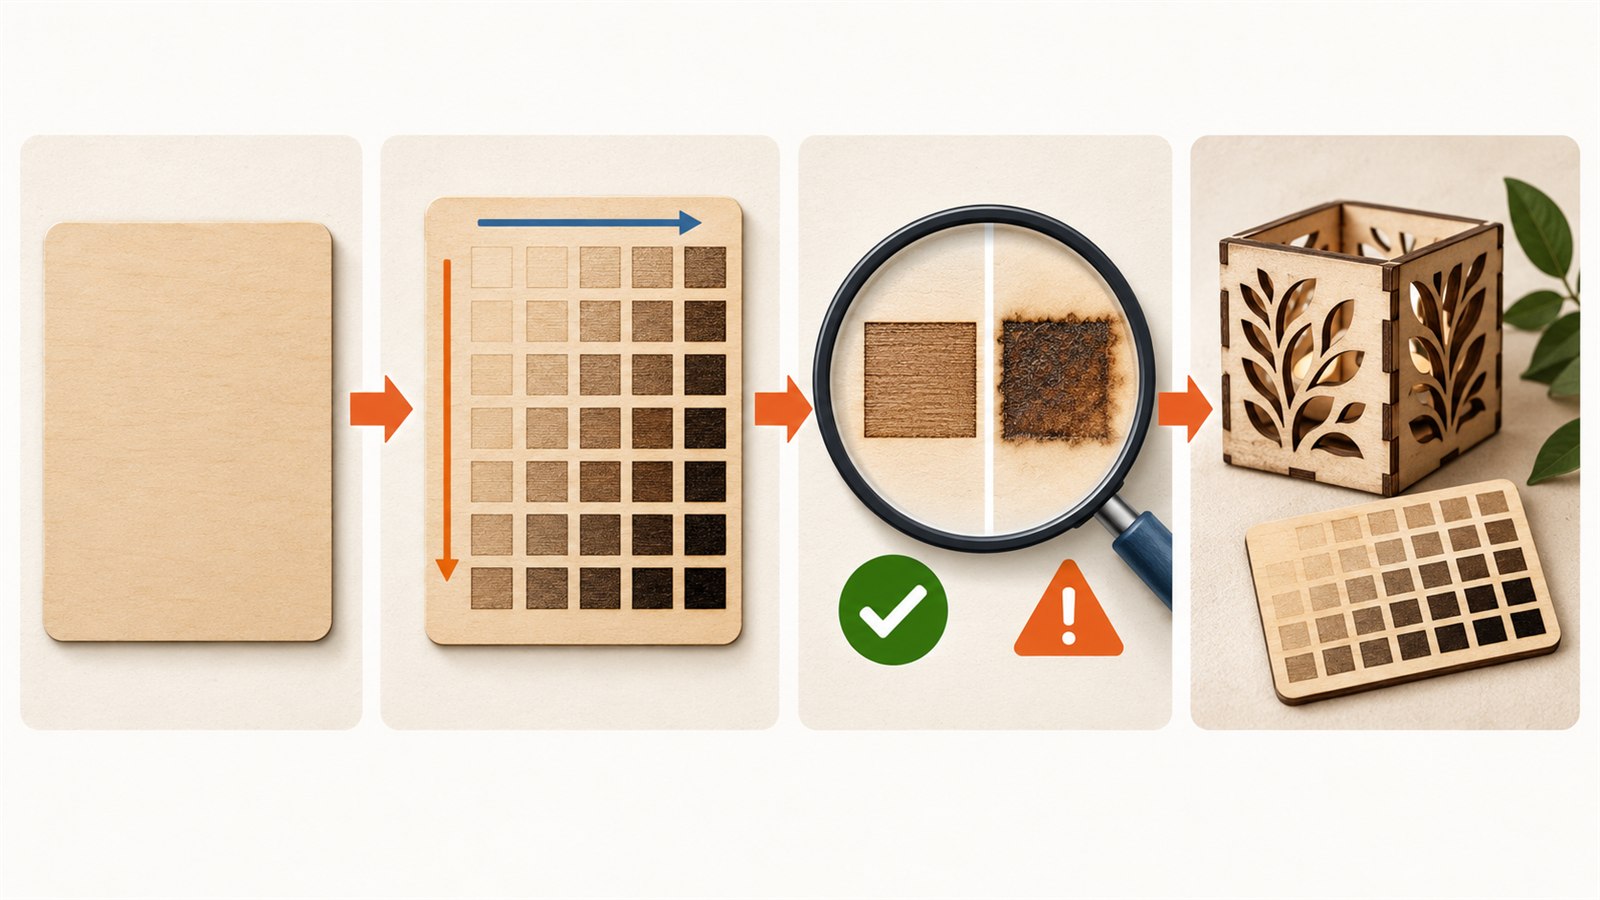
Take an offcut from the real material, compare a few deliberate samples and save the selected result with a short note.
Keep a short record
After a useful test, save a small result card: date, material, thickness or type, visible side, goal, grid map and selected cell. Add a photo if it helps. The record does not need to become a complicated system; it only needs to make sense when you return to the work later.
Avoid calling the note “best settings.” A more honest name is “starting point for this material and design.” That wording reminds you that a different sheet, focus or image may need another check.
Common problems and practical checks
| Problem | Likely cause | Practical check |
|---|---|---|
| All cells look almost the same | The range is too narrow or the test artwork is too simple | Extend one chosen range and add a real design detail |
| You cannot tell what the cells mean | Rows and columns were not mapped clearly | Label the grid or save a separate placement map |
| A good fill ruins small text | The test included only large dark areas | Add real-size text and fine lines to the next test |
| The result does not repeat on the main sheet | The test used different material or conditions | Use an offcut from the same sheet and record differences |
| The darkest option harms the design | Only darkness was judged, not edge quality or readability | Review all criteria at the finished size |
Limits and a safe approach
A test grid does not provide ready-made parameters for different equipment, materials or jobs. Do not treat someone else’s numbers as a guarantee. Check the requirements of your own machine and material, then test a small sample.
The grid also does not replace testing the complete design. After choosing a direction, test the most demanding element: fine text, a narrow join, close lines, a large dense fill or a photograph. A successful square does not always predict a successful complex layout.
Frequently asked questions
Do I need a grid before every job?
Not always. It is most helpful when the material, design, critical detail or process has changed. A repeat task on familiar stock may only need a short control test.
Why not just use settings found online?
They can offer a starting point, but equipment, material, thickness, focus and desired appearance vary. A real test on your own offcut is more dependable than a shared table.
How many cells should a grid have?
Enough to answer one clear question. Start with a small readable grid that varies one factor by rows and another by columns. If it does not answer the question, make the next test intentionally.
Should the grid include real artwork?
Include at least the difficult part of it. Fine text, a thin line or a dense area often gives more useful information than identical squares.
Can I keep results only in machine memory?
It is safer to keep a short external note with the material and selected sample. Machine memory does not explain which sheet, project or purpose the choice belonged to.
What if no cell looks right?
Do not move straight to the main blank. Decide what is missing—contrast, clean edges or readability—and make another small test with a deliberately adjusted range or image preparation.
Next practical step
Before your next job, take an offcut from the same material. Make a small grid with one simple feature and one difficult feature, save a clear map, compare the results and record the selected option. Then test the most critical element of the full design separately.
Keep learning
Choose another practical guide or return to the tools for the next step.