SVG and file preparation
One SVG can contain cut lines, engraved artwork, assembly marks, fold lines and temporary guides. When every element looks the same, it is easy to assign the wrong operation or run a job in an unexpected order. Colour groups make a project’s logic visible: one colour can represent one clear role that you can then inspect and assign in your production software.
It is important not to expect colour to do more than it does. In an SVG, colour is primarily a visual property. A red line does not automatically become a cutting path, and a black fill does not automatically become engraving. Your software and settings decide the actual operations. Use colour as an organising and checking system, not as an automatic command for every machine.
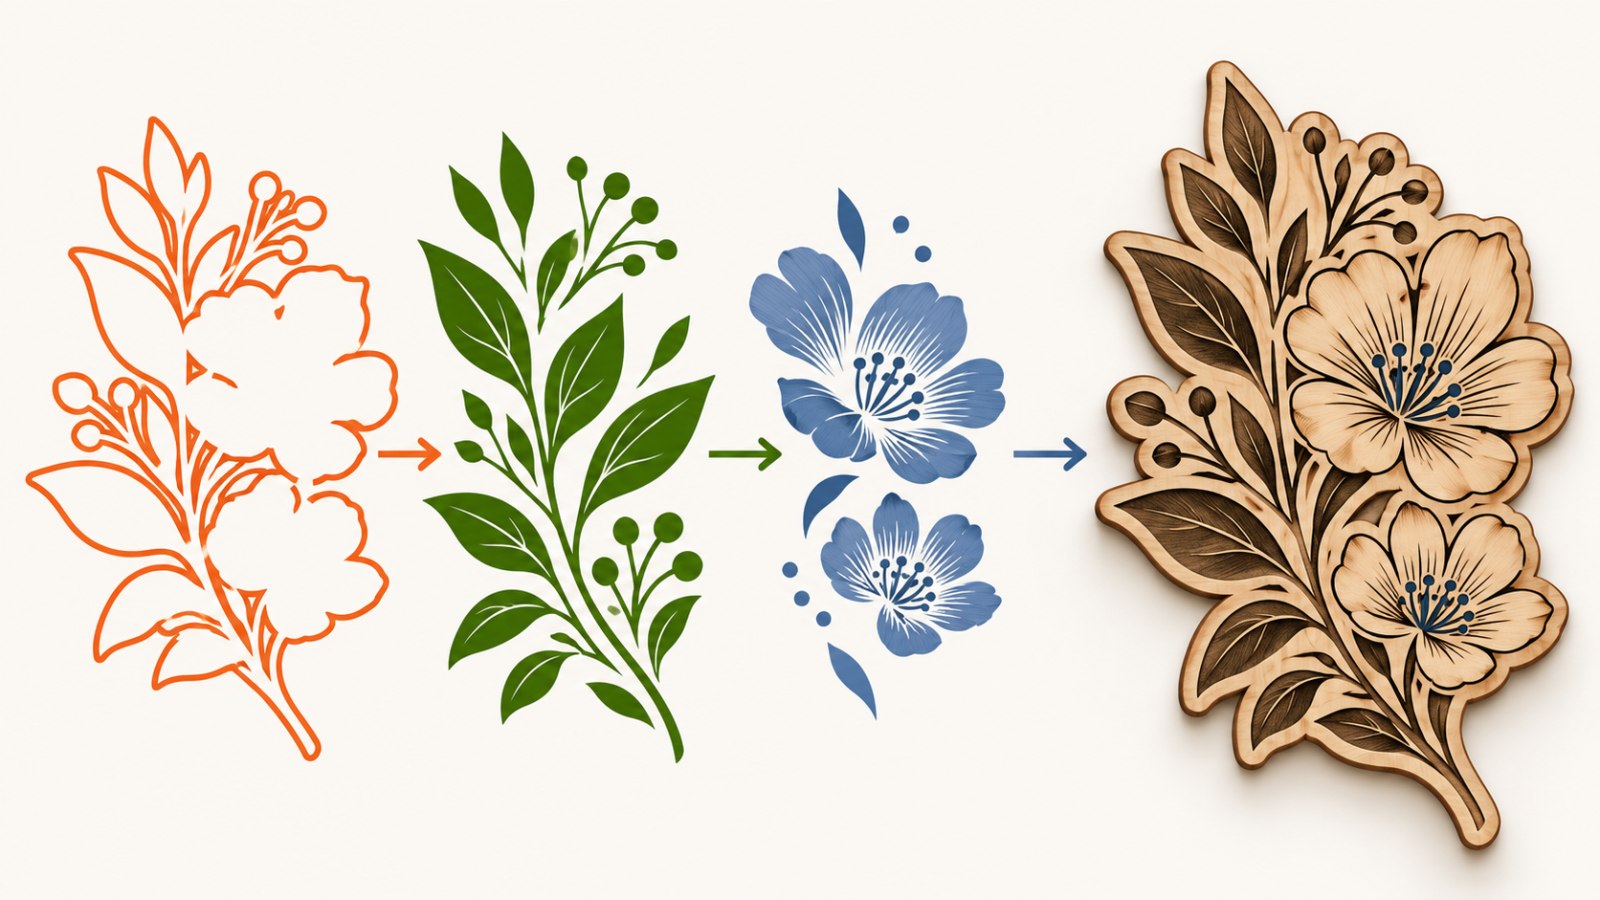
A simple colour system makes the intended role of each element visible before real operations are assigned.
When colour separation helps
Colour groups are especially useful when one layout has several different jobs: light background engraving, stronger marks, fold lines and final cuts. They also help when handing a file to another person, preparing a repeatable product or searching for accidental duplicates.
For one simple contour, an elaborate palette may add no value. Once a design has several operation types, however, clear grouping reduces the effort needed to check the file. The important question is simple: can you answer what each colour is for? If not, that group may need to be renamed, combined or removed.
You do not have to use the same colours in every project. Consistency inside a single project matters more than a universal palette. A file should explain its logic without relying on memory.
Start with a clean source file
Save an untouched original before changing anything. Work on a production copy that can be reorganised without risking the design source. Then inspect paths, fills, text and layers at useful zoom.
Look for elements that often remain after revisions:
- duplicate lines lying directly on each other;
- old part versions hidden behind other objects;
- temporary frames, notes and guides;
- open paths where a closed contour is required;
- stray points or tiny fragments.
Colour separation will not fix this geometry. It can make an extra object harder to notice if you only look at group colours. First make sure the file contains only intentional elements.
Give every group a job
Build the system from the actual work, not from favourite colours. List the operations you need: outer cut, internal holes, light engraving, part labels, fold marks or guides that should not run. Then place elements into visible groups that reflect those jobs.
It helps to give every group a plain-language purpose in a layer name or project note: “outer cut,” “holes,” “light engraving,” “part numbers,” or “do not run.” That small step reduces the risk that a bright colour is interpreted from memory a week later.
Keep production elements separate from temporary ones. A positioning guide or layout frame should not become a cutting path because it was left in the same group as the finished outline.
Think about operation order
Order can affect the result. For example, engraving before the final outline is cut may help keep a small piece stable. In another project, material, holding method or geometry may lead to a different choice. Do not treat any one sequence as universal; decide it intentionally for the real project and check it with a small test.
When a file is organised into groups, the sequence is easier to see and discuss. Open the job in the application that controls the work and confirm that operations appear in the intended order. Use a path preview when available. It can reveal that a group was assigned incorrectly or that contours will be processed in an unexpected sequence.
A safe workflow
1. Save a version before recolouring
The source file is useful if you later need to revise the design or return to a neutral view. Give the production copy a name that clearly identifies its purpose.
2. Use only as many groups as you need
Do not create a new colour for every small detail. The more colours in a file, the harder it is to control. Usually, groups should correspond to real operations. If two groups need identical treatment, consider combining them.
3. Inspect each group on its own
Temporarily hide other groups and review one colour at a time. This makes it easier to spot an extra line, forgotten text, duplicate contour or object that should not be part of the job.
4. Assign real operations in the target software
Imported colours and layers must be deliberately connected to the operation you intend. Confirm the operation type, settings and sequence for your material and task. A familiar colour name is not evidence that the right action has been selected.
5. Test critical geometry
Before a full job, test a small area containing the most delicate feature: thin bridges, small text, an internal hole, a dense engraved area or closely spaced lines. Use an offcut of the same material where possible. A test does not provide universal settings, but it does show how your design and material behave together.

First separate the roles of the elements, then inspect the geometry and only then assign operations in the software that will run the job.
Common problems and practical checks
| Problem | Likely cause | Practical check |
|---|---|---|
| A line is processed twice | The file has a duplicate contour | Hide groups one by one and inspect coincident edges at high zoom |
| Text is cut instead of marked | The label group was included in cutting | Review the operation assigned to the text layer |
| The job runs in an awkward order | Groups exist, but the operation sequence was not reviewed | Use the job preview and inspect the planned order |
| A guide is cut | A temporary object was not excluded | Keep service elements in a clearly named “do not run” group |
| Engraving differs from expectation | Colour was treated as a setting instead of a visual cue | Test the actual operation on the real material |
Limits worth remembering
Neither colour nor an SVG layer is a universal machine-command language. Applications handle imported groups, fills, stroke widths, hidden objects and colours differently. After importing, always check that you see the intended elements and that they have the intended real operations.
This article also does not provide universal laser settings. Power, speed, passes and other process details depend on equipment, material, thickness, focus and many other conditions. Check the requirements of your own machine and material, then run a small test.
Frequently asked questions
Can one colour be used for every cutting line?
Yes, when that supports your organisation and you still check how the group is assigned in the target software. Colour does not create the operation on its own.
Do inside and outside cuts need different colours?
Not always. Separate groups can help when you need to check order or contour types. If the operation is identical, unnecessary splitting can make the file harder to manage.
What should happen to guides and notes?
Put them in a clearly named separate group and exclude them from the production job. Confirm before running that they have no active operation.
Why does the same SVG behave differently in another program?
Applications may interpret layers, groups, fills, stroke widths, units and hidden objects differently. Recheck both appearance and assigned operations after import.
Can colour help label parts?
Yes, as a visual way to keep labels separate from contours. The text still needs a safe engraving operation or must be removed before cutting if no mark is wanted on the finished part.
Should I test again if the design worked previously?
After changing the material, thickness, scale, geometry or settings, repeat at least a small test of the critical areas. A previous result does not guarantee a new one.
Next practical step
Open one existing SVG and list its real operations. Separate only the groups you need, hide them one by one to check the contours, then import the production copy into your working software and test the most delicate feature on an offcut.
Keep learning
Choose another practical guide or return to the tools for the next step.